This content has been archived. It may no longer be relevant

Yes it is happening. Thread Thursday is back!!!
Summer is almost over again, and I don’t know how. The weeks seem to just fly by.
But I am picking up sewing again.
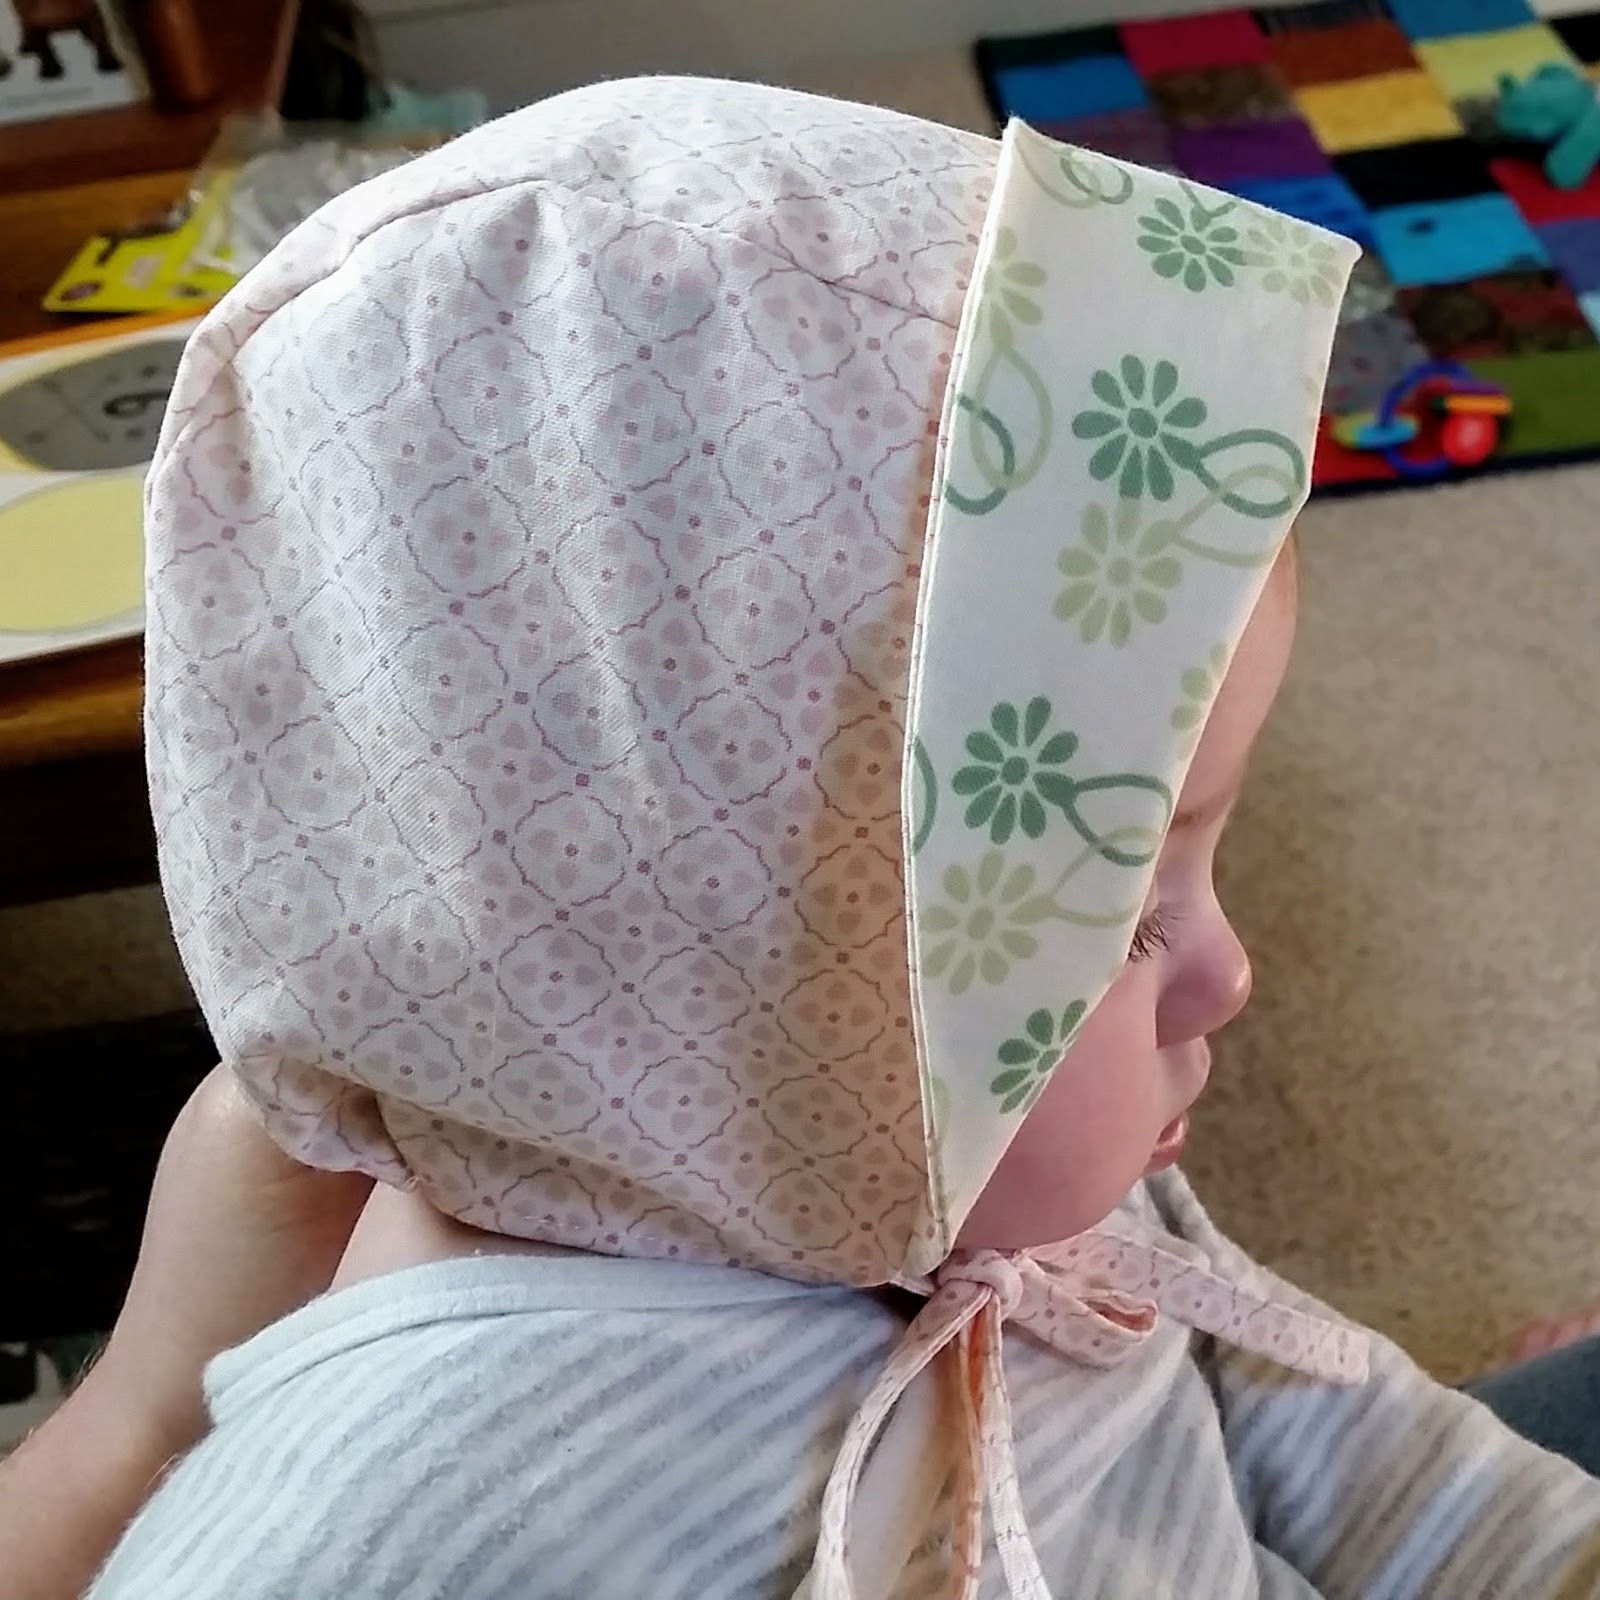
My little one needed a sun hat, because her current one is almost too small and otherwise we only have warm hats. So I printed a bonnet pattern and whipped up this little beauty from some quilting squares on Monday. It’s just plain cotton fabric, but I made it reversible.
You can get the pattern right here: Sun Bonnet Pattern
And there is also a tutorial from PurlSoho.
Here is my step by step process. I did a few tweaks.
Materials
- ¼ yard of the outer fabric
- ¼ yard of the inner fabric
- ¼ yard Interfacing
- Thread
- Bias tape maker (optional – I just used the iron)
- Pattern (see above)
Step by Step
First of all, the size I used did not match with the actual age of my daughter. This is usually my issue with patterns. They are sized in months but that does not account for babies being all over the place in size at different months and my baby being pretty tiny. That is why I love patterns that are based on centimeters or inches better.
Anyways, I measured her head circumference and took the pattern where the side piece width was about 1/4th of that. I ended up using the 0-3 month pattern and she is 6 months old 😀
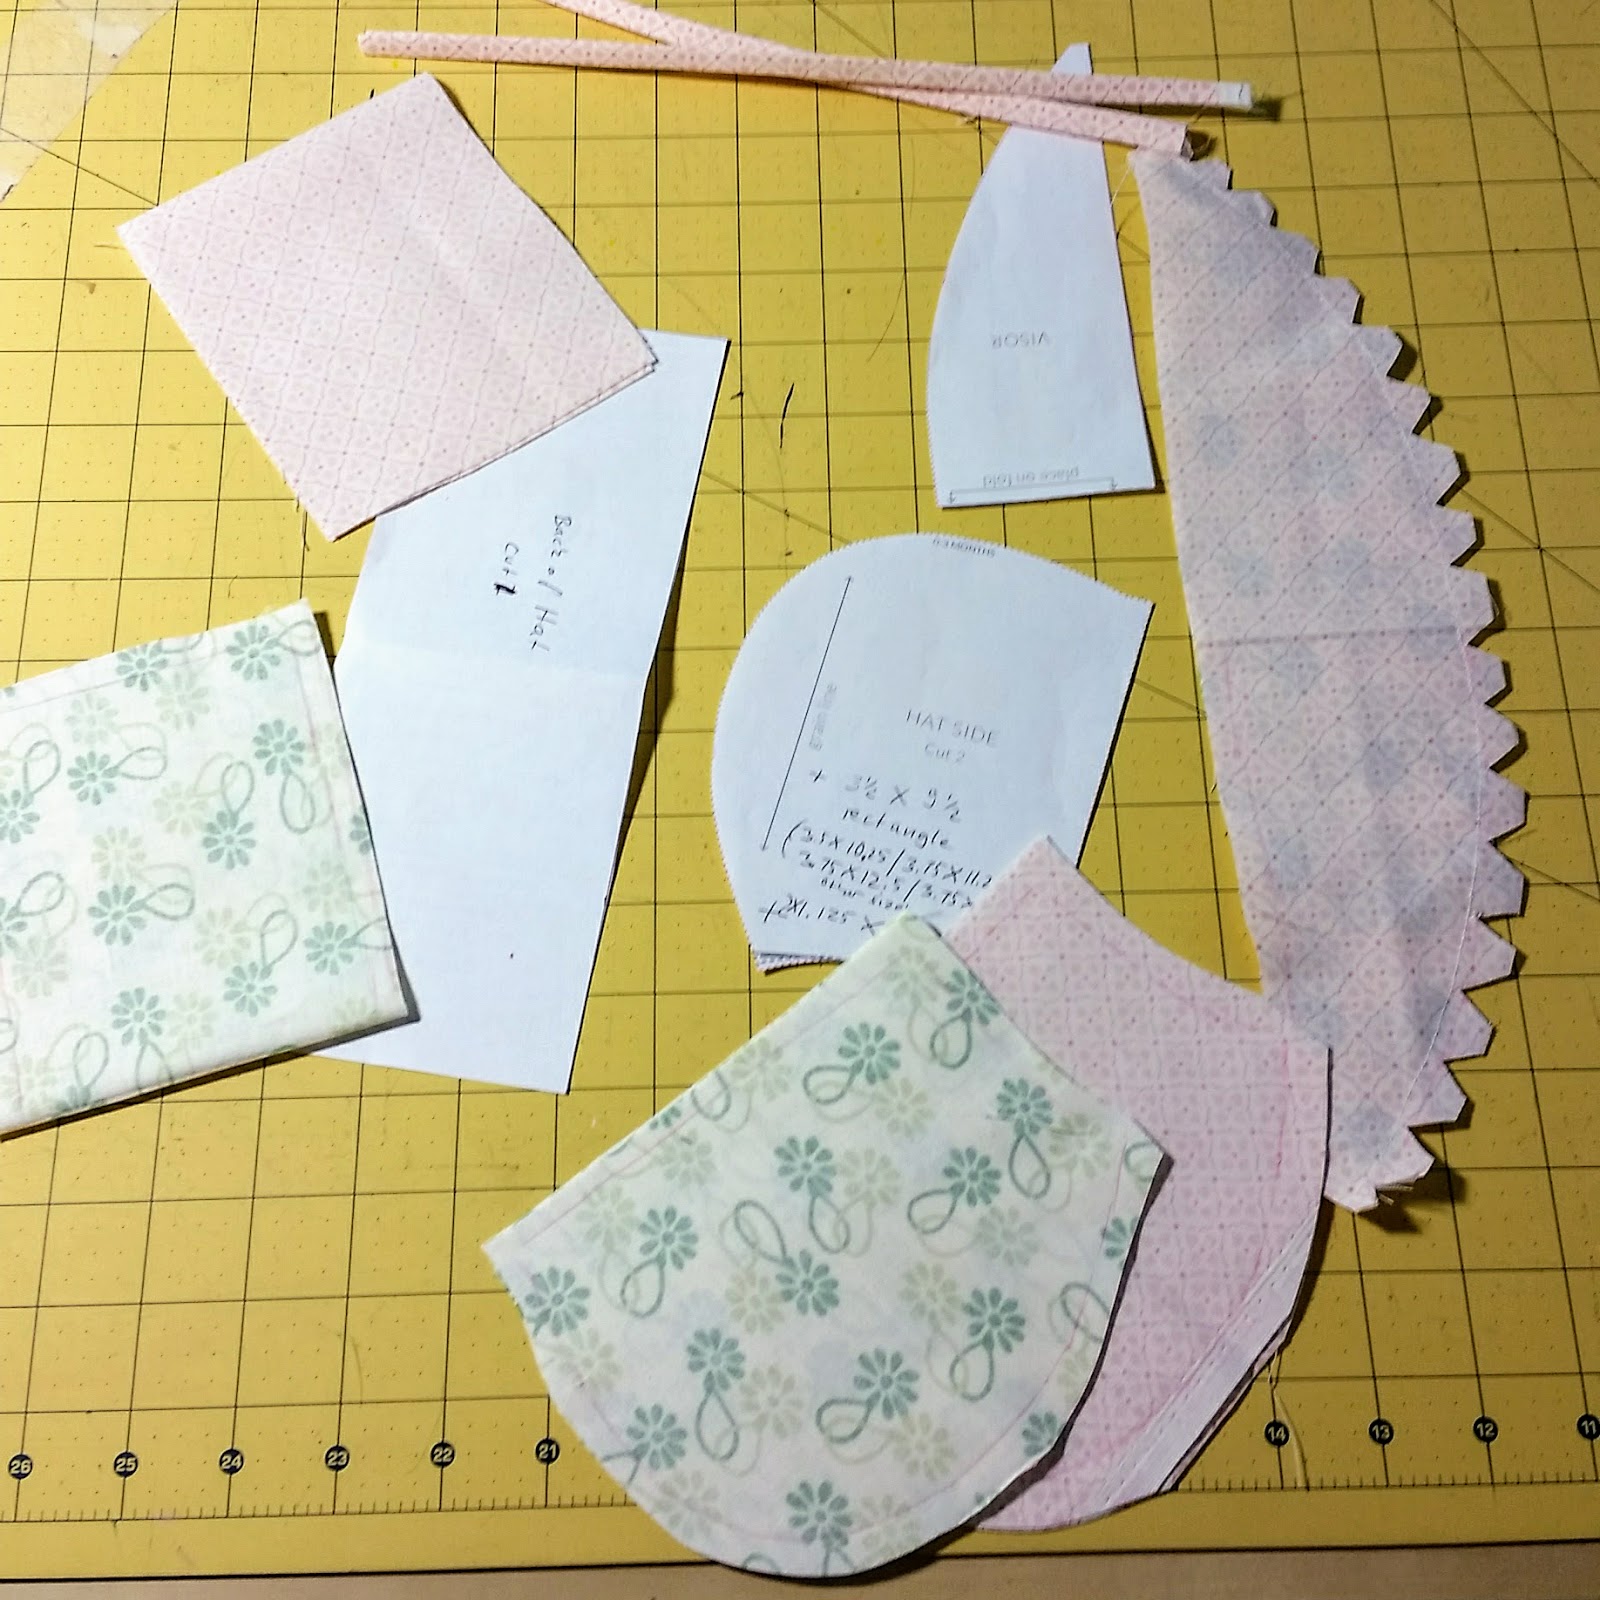
I cut out the pieces of the pattern per instruction. I also cut out a rectangle for the back of the head from each fabric. Here are the dimensions based on size.
0-3 (3-6, 6-12, 12-18, 18-24) months: 3 ½ by 9 ½ (3 ½ by 10 ¼, 3 ¾ by 11 ¼, 3 ¾ by 12 ½, 3 ¾ by 12 ¾)–inch rectangle from both the outer and inner fabric.
Then I cut a rectangle from the pink fabric 1 1/8 inch wide and 12 inches long for the ties. You could use either fabric but if you don’t do it reversible then use the outer fabric. The longer you cut the rectangles, the longer the Ties will be.
Different than the pattern I did the visor first. I just felt this would be easier later.
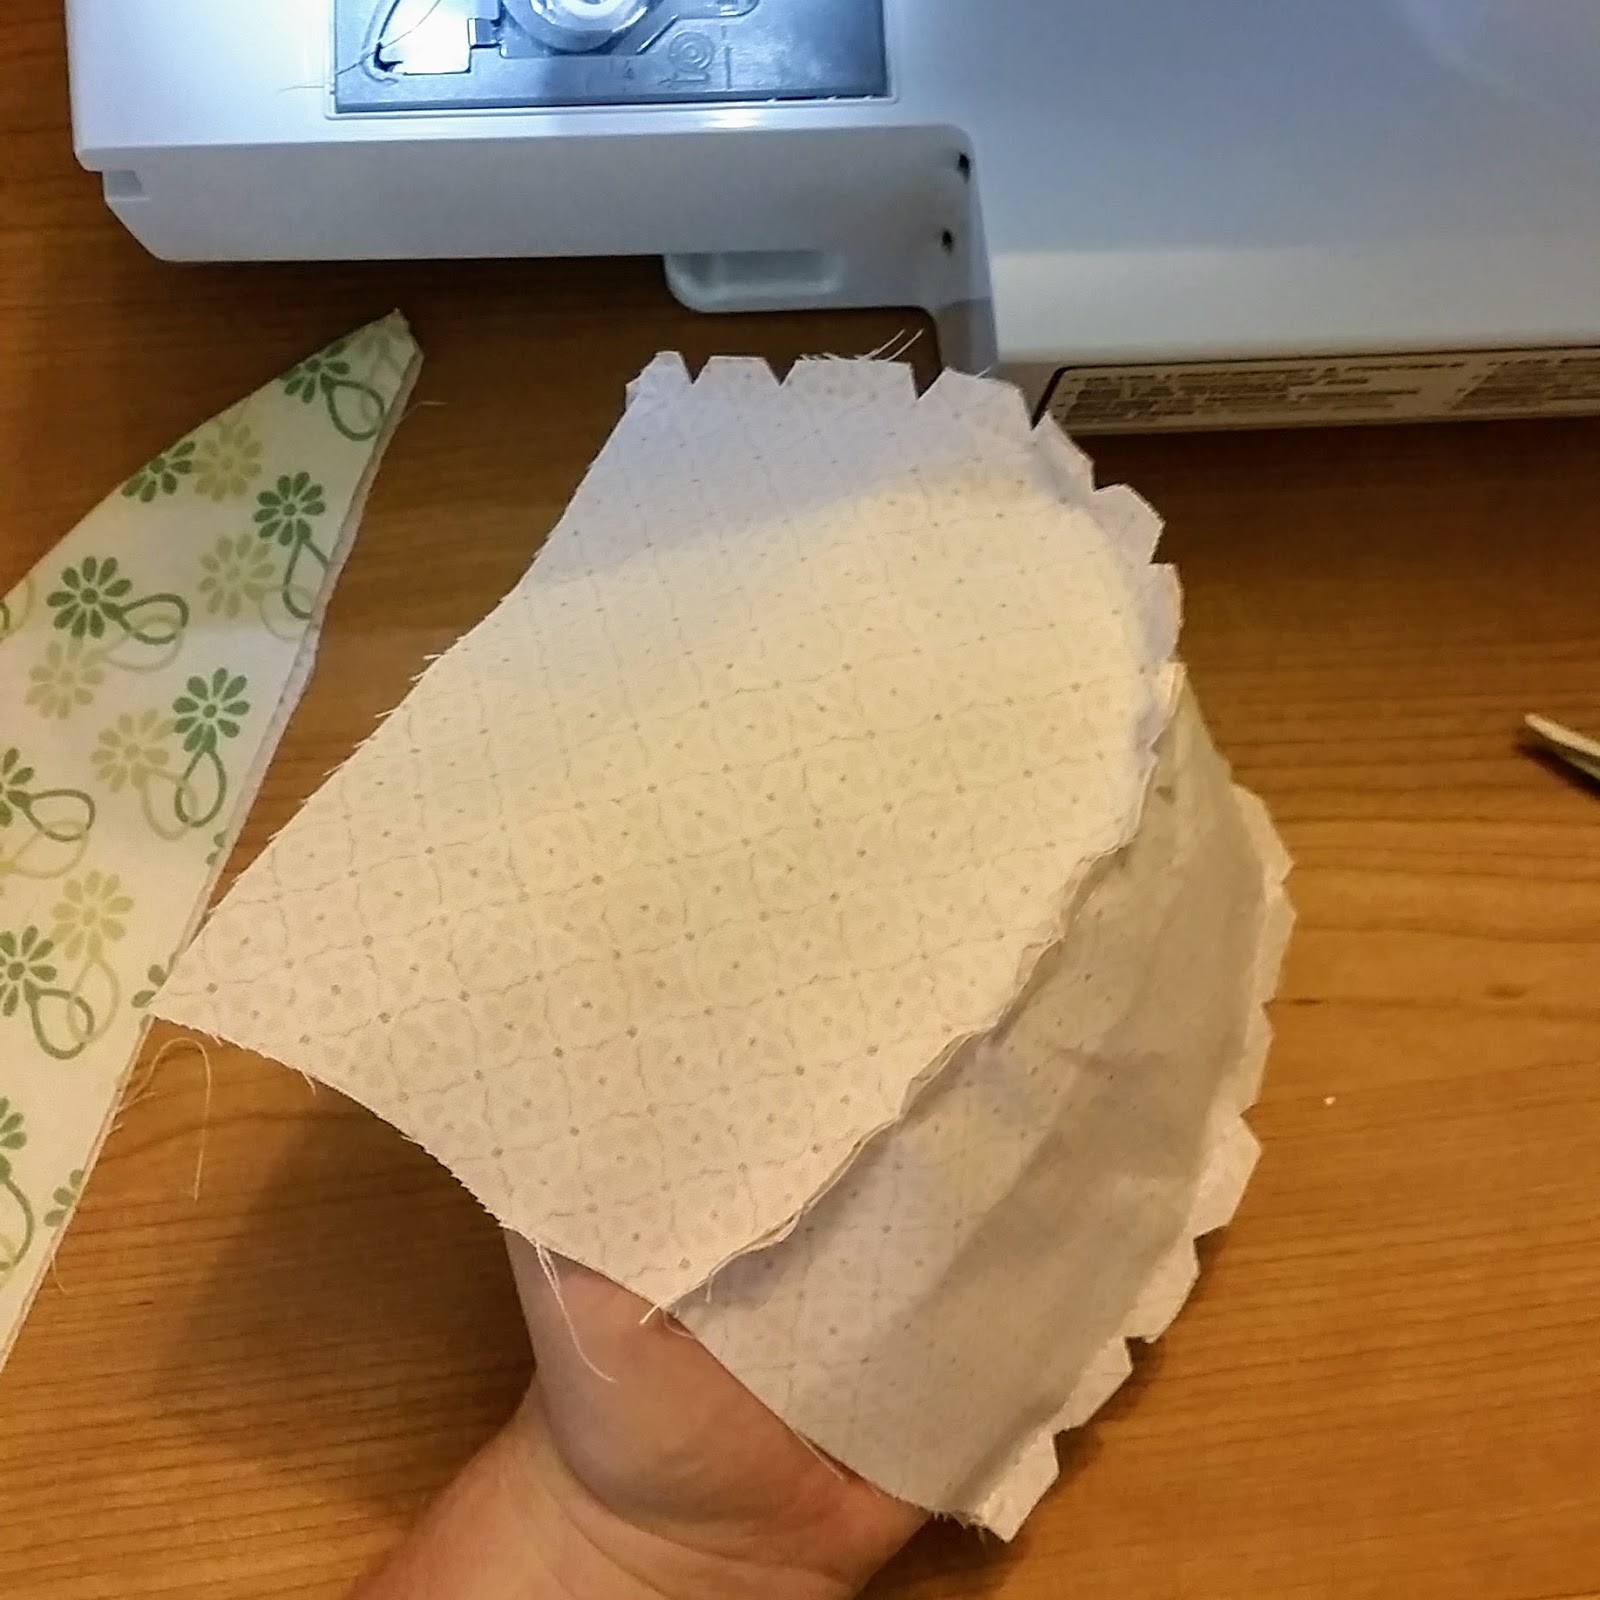
I layered inner and outer fabric right side together and then the interfacing on top.
Then I stitched on the line just catching the interfacing every now and then. You could also use fabric glue to hold it in place. Then I clipped the seam. You need to do that with curved seams so the fabric will lay nice and flat after turning the piece right side out.

I turned the visor right side out and fused it all together with an iron because the interfacing is fusible. The technique of catching the interfacing with a few stitches allows you to also use non-fusible interfacing.

Then, I pin together the head pieces of each fabric, sew them and clip the seams.
Next I was doing the ties. Here you can use the bias tape maker to have it easier folding the strip. I just used the iron and had to make a few more runs: first fold in half and iron, then fold sides toward the middle crease and iron, then fold in half again and iron.
For each tie, I picked one end that will be the outside end and fold it inward so there are no raw edges.
Once I got the strip all nice and folded, I top stitched close to the open edge.

Next I pinned everything together:
- The two back of the head pieces in different fabric right side facing.
- In between, the visor right side out and right side facing each back of the head piece.
- also in between the two back of the head pieces, the tie with the remaining raw edge pinned in the bottom front corner.


After all was pinned, I sewed around the edge leaving a gap in the back for turning.

I turned in side out and pressed a little.

Then to close the gap in the back, I top stitched along the lower edge of the bonnet.

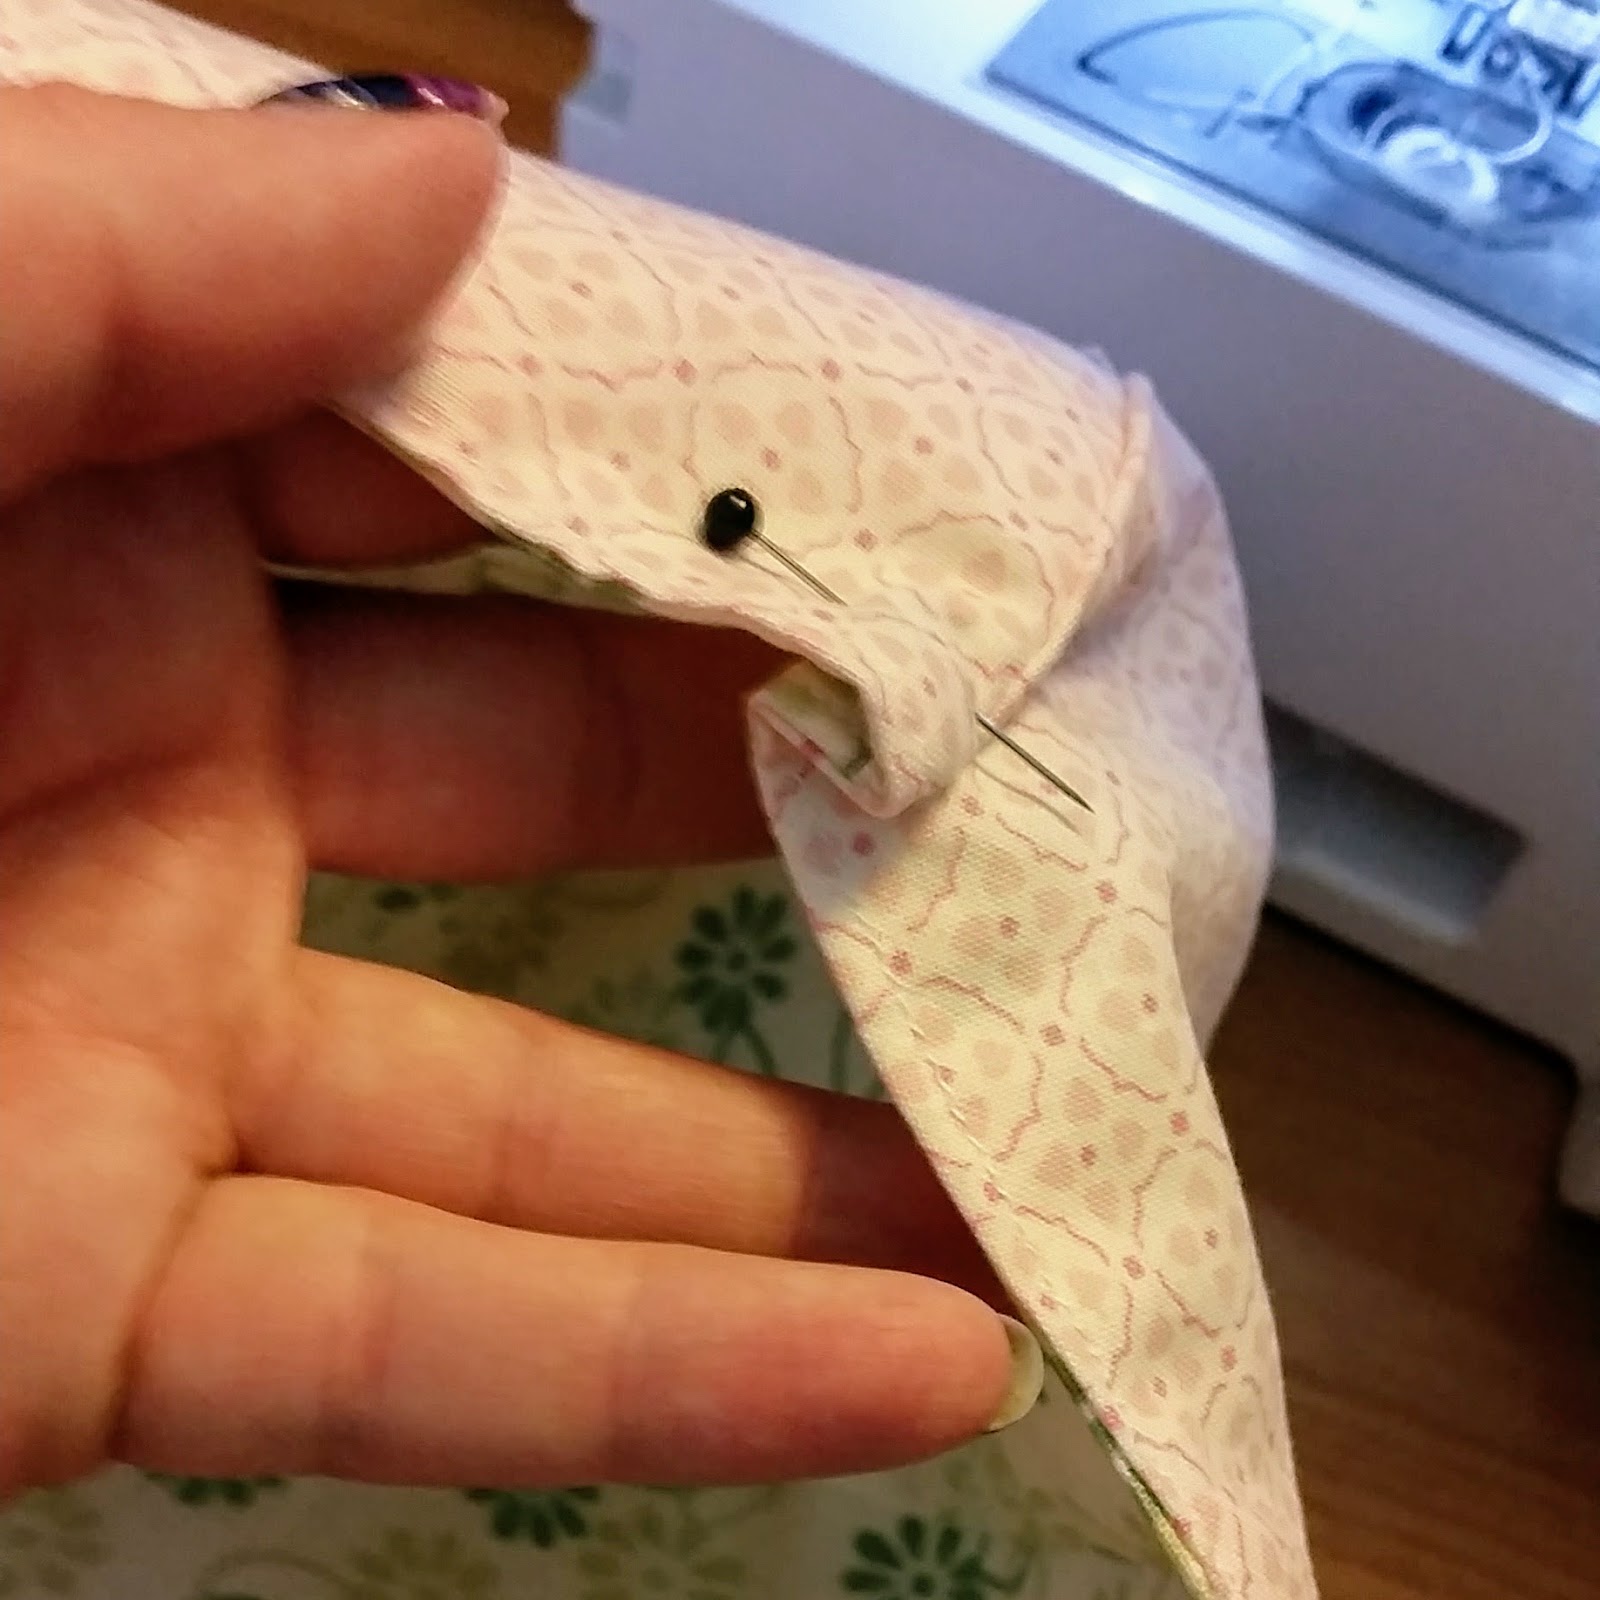
Last but not least, I added a little pucker in the back for shaping by folding each back seam toward the visor by about 1/4 inch. I sewed along the bottom edge and up by about 1/4 inch.
And here is how it turned out. Cute little reversible summer bonnet. I love it.

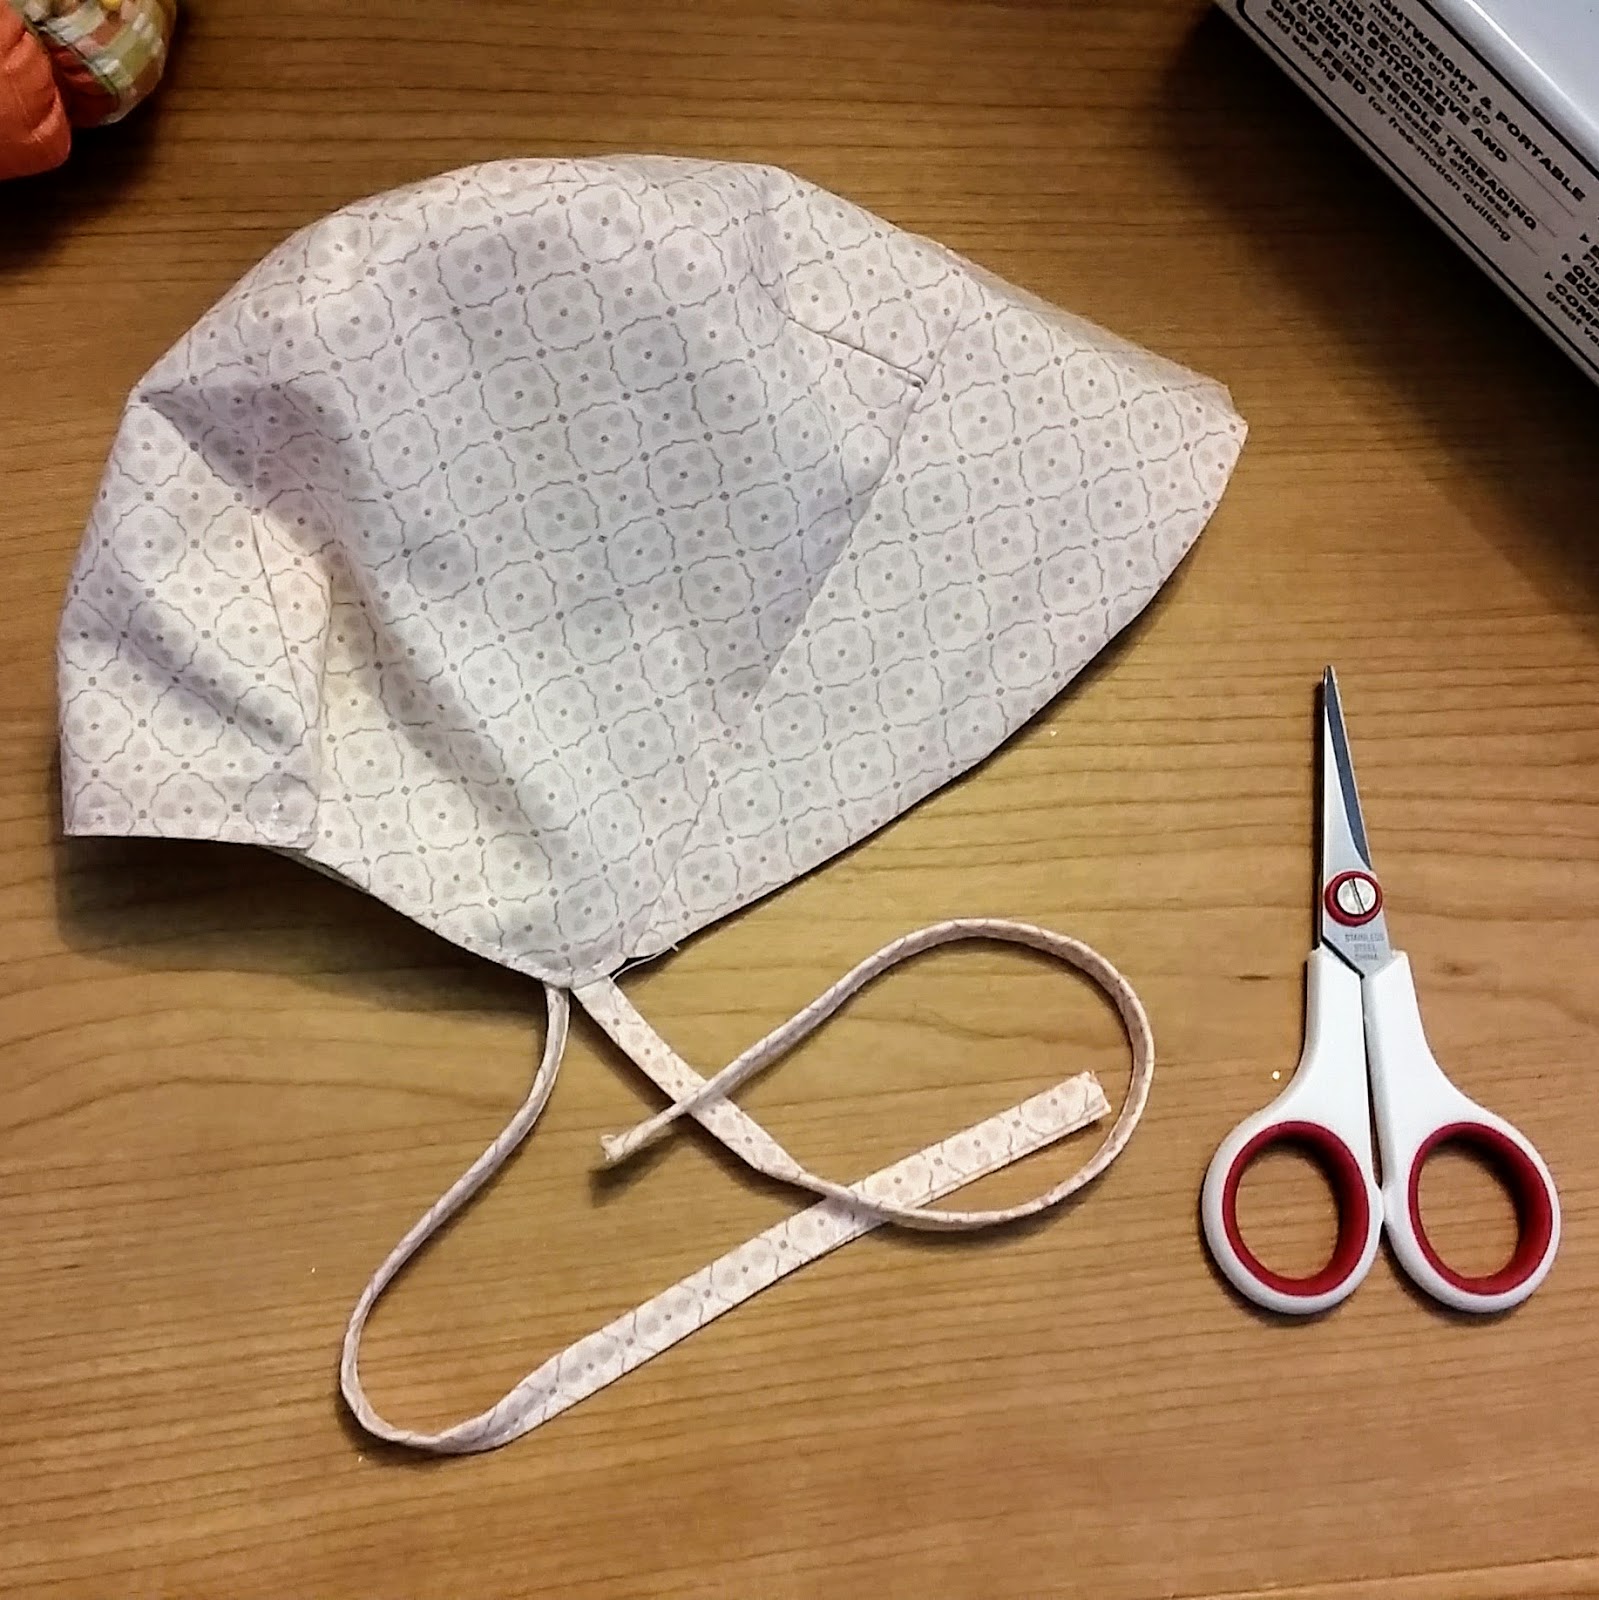
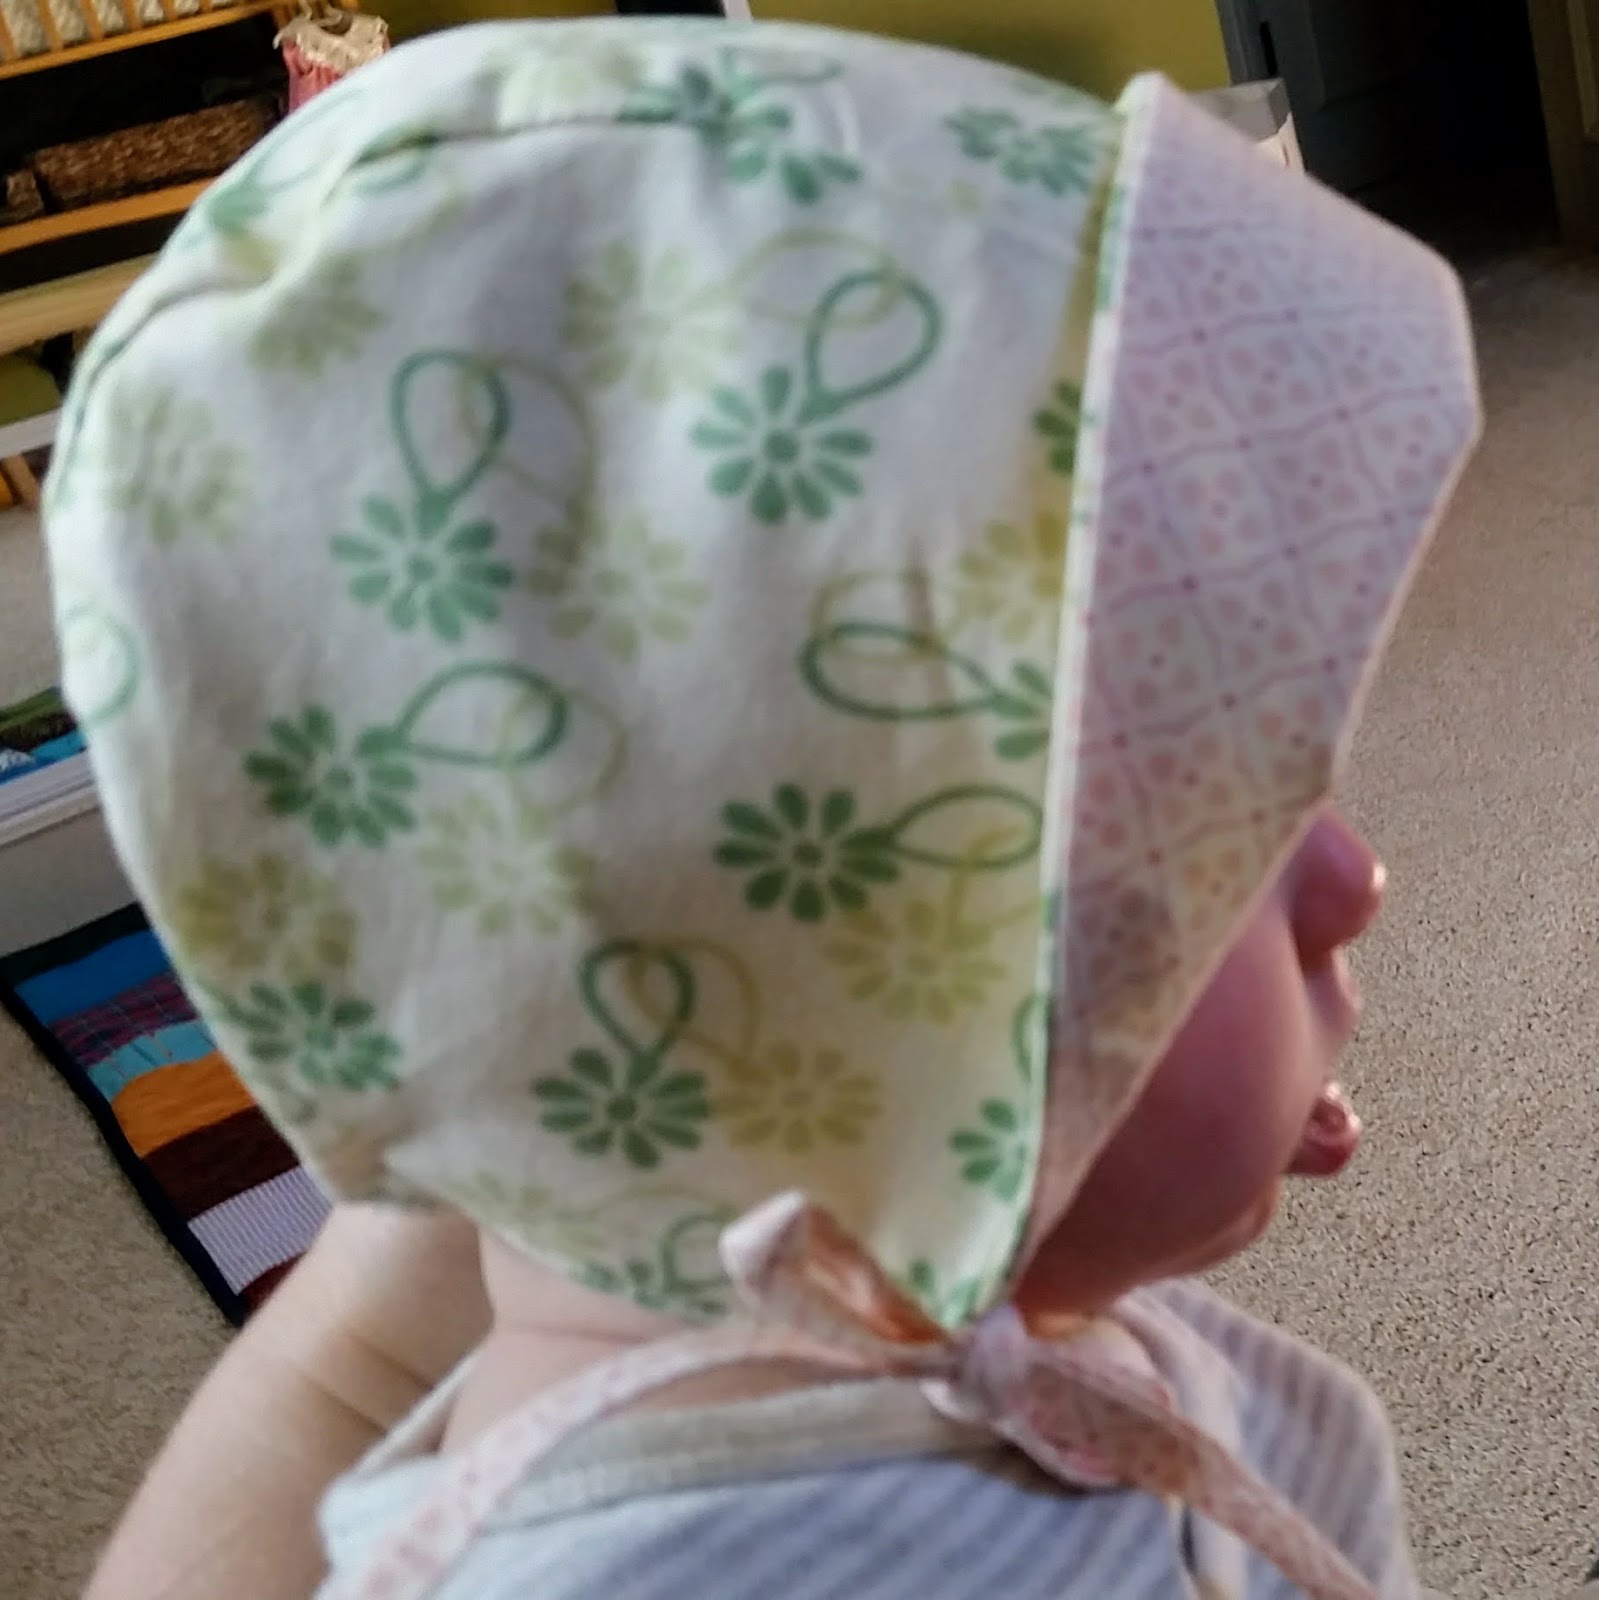
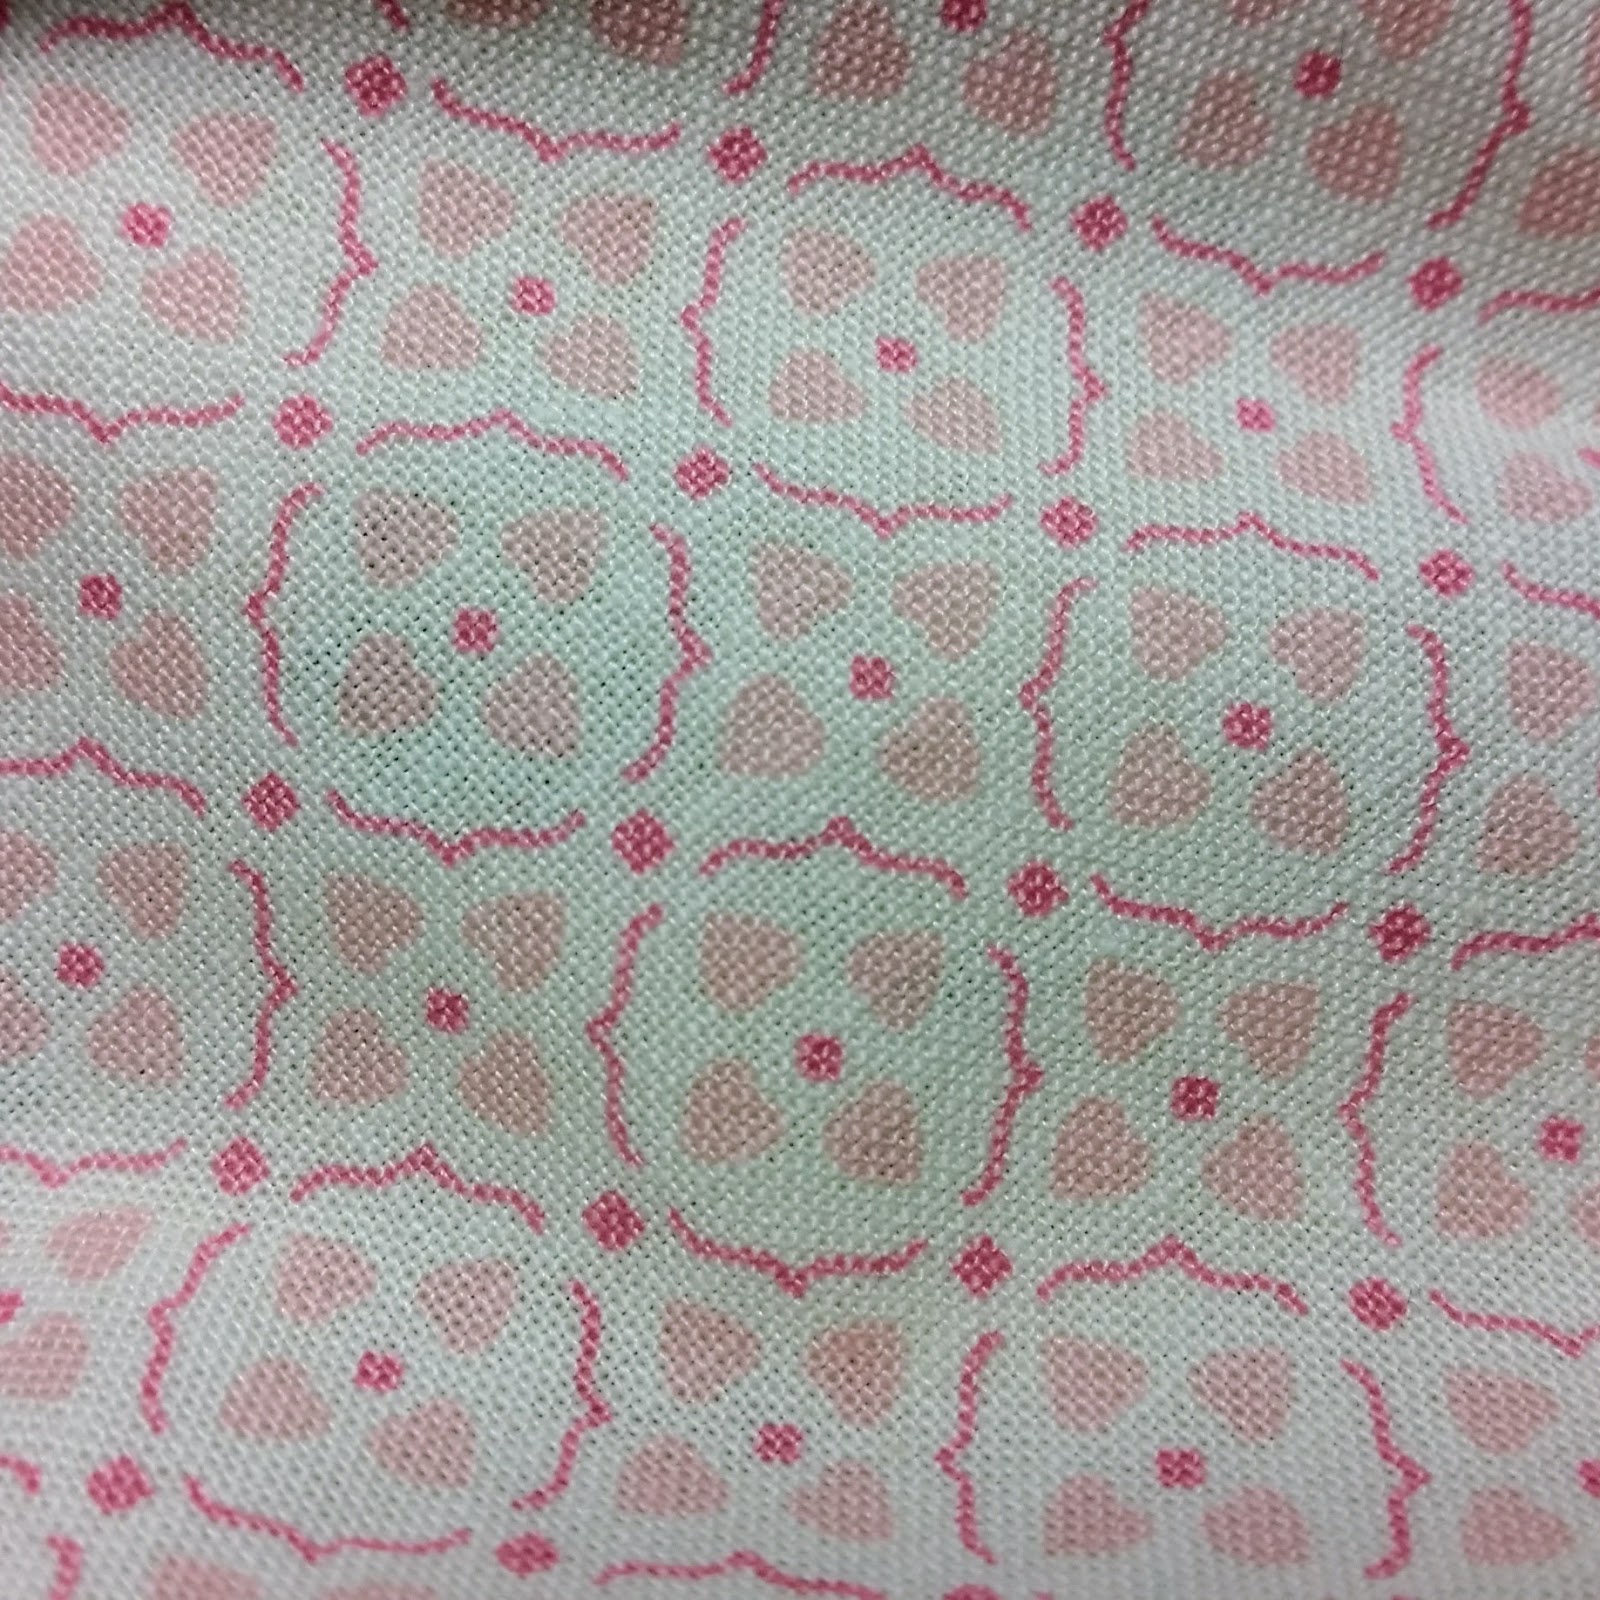
And so you can see the fabric a little more in detail, here a couple close ups.

I had to try it on her the next day to get good light for the pictures. I think it also looks cute with the visor folded back 🙂